Digital Resources Home Styling & Organization Sustainable Home

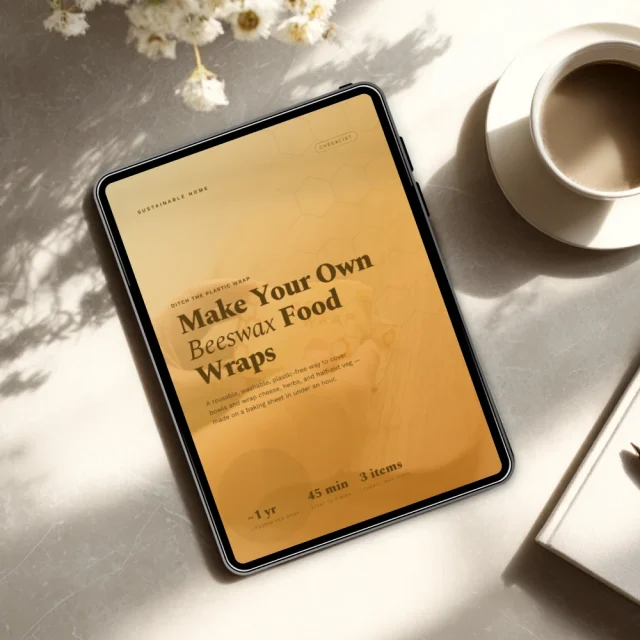
Make Your Own Beeswax Food Wraps

Selling fast — 44 people bought this in the last 24 hours
Popular right now — 290 people are viewing this product
Just purchased — Hannah from Virginia bought this 8 min ago
What you'll get
Full digital product — instant access after purchase
Works on any device — phone, tablet, desktop
Free lifetime updates included
30-day satisfaction guarantee
Shipping Time: Shipping cost:
Secure Checkout
Instant Access
30-Day Guarantee

Digital PDF checklist with 6 chapters covering 50+ dessert drink recipes, seasonal guides, and a built-in budget planner. Compatible with all devices.

30-day guarantee — full refund if the tool doesn't match its description or you can't access it. Once accessed, refunds aren't available for change of mind.

Instant digital delivery — access immediately after purchase. Works on phone, tablet, or desktop. Includes free lifetime updates.

SUSTAINABLE HOME • CHECKLIST

Make Your Own Beeswax Food Wraps

Create reusable food wraps with cotton fabric, beeswax, simple oven steps, and clear care routines for everyday low-waste storage.

7sections
28items
instantaccess
 
🐝 Reusable wraps · less plastic

A practical PDF checklist for choosing fabric, preparing pieces, melting wax evenly, setting the wraps, using them safely, and refreshing them later.

Built for low-waste kitchens, handmade gifting, and anyone who wants a simple reusable alternative for bowls, cheese, snacks, and everyday food storage.

🔓 Get Instant Access

✓ Instant PDF download

✓ Action-focused, not theory

✓ Read on any device, lifetime access

 
SOUND FAMILIAR?

Beeswax wraps work better when the coating is even and flexible

The fabric choice matters

Cotton absorbs wax well, while synthetics can behave poorly and are not ideal for reusable kitchen wraps.

Preparation prevents patchy results

Washing, drying, cutting, trimming, and ironing help the wax spread smoothly across the whole wrap.

Heat and wax need control

Even sprinkling, short oven time, parchment, and brushing dry patches help create a usable coating without overdoing it.

Care keeps wraps useful longer

Cool washing, air drying, safe use rules, and re-melting with fresh pellets can extend the life of each wrap.

 
WHAT’S INSIDE

Inside the checklist, 7 sections and 28 items

Choose the Materials

Select 100% cotton fabric, beeswax pellets, optional resin and jojoba oil, parchment, a baking sheet, and spreading tools.

Prepare the Fabric

Wash, dry, cut useful sizes, trim edges if possible, and iron the fabric flat before adding wax.

Melt and Spread the Wax

Heat the oven, line the tray, sprinkle wax evenly, bake briefly, and brush melted wax to the edges and corners.

Set the Wraps

Lift, wave, cool, hang, check for bare spots, reheat if needed, and let the wraps cure before first use.

Use Them Right

Warm wraps in your hands, press around bowls or snacks, and avoid raw meat, hot food, microwaves, ovens, and dishwashers.

Clean & Refresh

Rinse in cool water, air-dry over a rack, refresh cling with fresh wax, and compost or reuse at end of life.

Put AI to Work

Use ready prompts to cut fabric efficiently, scale recipes, troubleshoot cracking, and write care-card text for gifts.

 
🍯

Make reusable wraps that keep food storage simple

Get instant access to a practical checklist that helps you cut, coat, set, use, clean, and refresh handmade beeswax food wraps.

🔓 Get Instant Access

0.0
☆☆☆☆☆
0 reviews
5
4
3
2
1

Digital Product Delivery

This is a digital product. Upon payment, you receive immediate access via your account and a confirmation email. No physical shipment involved.

30-Day Satisfaction Guarantee

If this product is materially different from its listing or you experience a technical issue, you are eligible for a full refund within 30 days of purchase.

Lifetime Updates

Your purchase includes access to all future updates at no additional charge. Updates are delivered automatically to your account.

Shopping cart

×